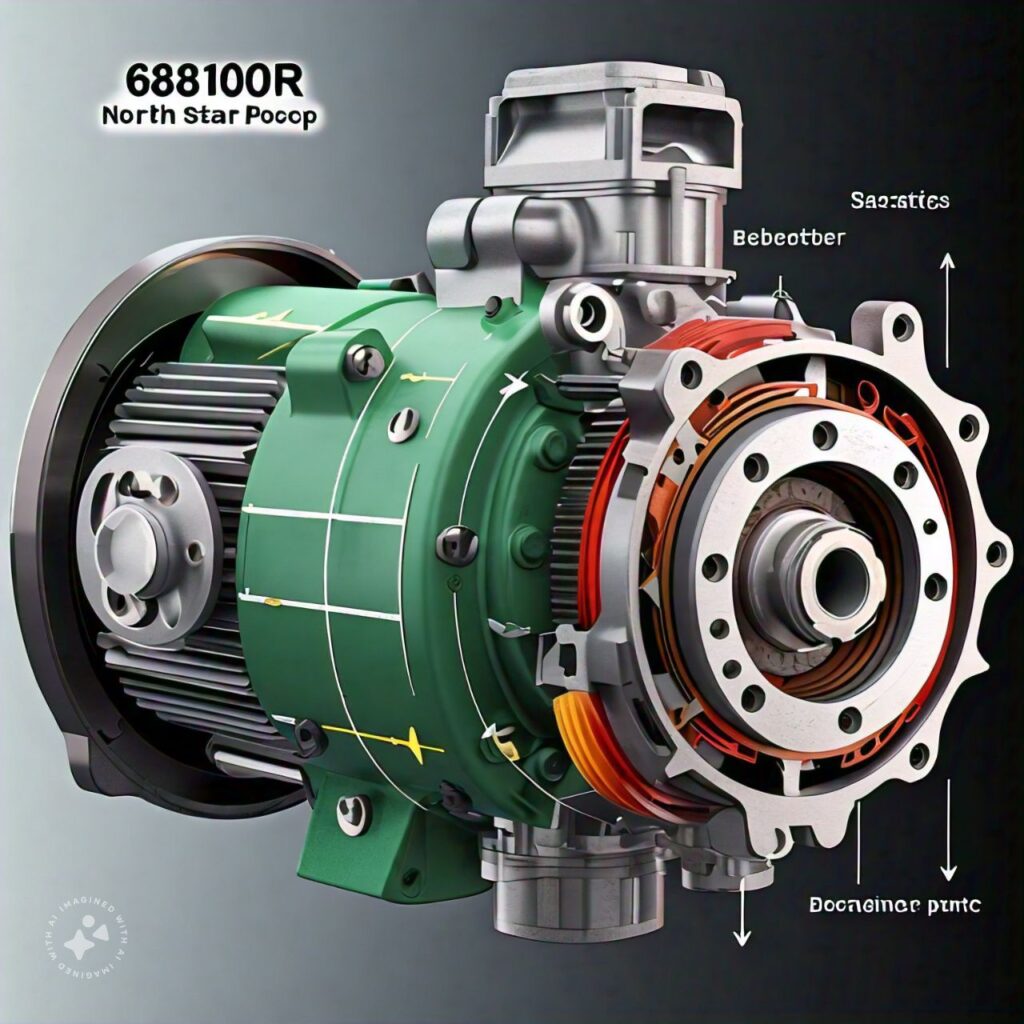
The 68180R North Star Sprayer Pump Motor is an essential piece of equipment widely used in agriculture, pest control, and industrial applications. These sprayers help to efficiently distribute liquids like pesticides, herbicides, or fertilizers. A key component of the sprayer’s overall performance is its motor, which drives the pump to pressurize and spray the fluid. Understanding the motor’s operation, components, and maintenance is crucial to ensuring the longevity and efficiency of the equipment.
One of the best ways to understand the working of the 68180R motor is through its motor diagram. This diagram provides a visual representation of the internal components, wiring, and fluid pathways, which can be invaluable for users, technicians, and service personnel when troubleshooting, maintaining, or repairing the sprayer. In this article, we’ll break down the key components of the sprayer pump motor, walk through how to read the motor diagram, discuss common issues, and provide maintenance tips to keep your equipment running at its best.
Components of the 68180R North Star Sprayer Pump Motor
Main Motor Parts
The 68180R sprayer motor is made up of several key components that work together to drive the pump and distribute fluid. Understanding each part will help you identify issues, perform proper maintenance, and ensure smooth operation.
Motor Housing
The motor housing is the outer casing that protects the internal components of the motor. It is typically made from a durable material like aluminum or heavy-duty plastic. The housing is designed to shield the motor from dirt, moisture, and other environmental factors while also providing a structural frame for the motor.
Pump Impeller
The impeller is a crucial part of the sprayer pump motor. It is a rotating part of the pump that moves the fluid through the pump system. As the motor turns the impeller, it creates centrifugal force that pushes the liquid out of the sprayer nozzle. The impeller’s design and material directly affect the efficiency and pressure of the pump.
Shaft
The shaft connects the motor to the impeller. As the motor spins, the shaft transfers that rotational energy to the impeller, allowing it to move the liquid. A well-maintained shaft ensures smooth operation and helps prevent mechanical failures.
Bearings
Bearings are used to support the rotating parts of the motor, such as the shaft. They help reduce friction, ensuring that the motor runs smoothly without excessive heat generation. Over time, bearings can wear out, leading to noise or operational inefficiencies. Regular maintenance checks can help prevent this.
Seals and Gaskets
Seals and gaskets play a vital role in preventing leaks in the pump motor. These components ensure that the fluid does not escape from the system, maintaining the internal pressure required for efficient operation. Over time, seals and gaskets can wear down, and when this happens, the motor may lose pressure or even suffer from more severe leaks.
Read More: Gravely 152Z Hydraulic Filter Cross-Reference with Super Tech
Electrical Components
Understanding the electrical components of the sprayer motor is also critical for proper operation and troubleshooting.
Power Supply
The 68180R motor typically operates on standard AC power. Understanding the voltage and amperage requirements for the motor is essential to ensure it is properly connected to the power supply. Any deviation in power supply could affect the motor’s performance or even cause permanent damage.
Wiring and Connectors
The wiring diagram of the 68180R motor is a key part of the motor diagram, as it shows how electricity flows through the motor, connecting various components. A clear understanding of the wiring will help you identify issues like power loss, faulty connections, or short circuits. Over time, wires and connectors can corrode or degrade, which can result in electrical failure.
Understanding the 68180R Motor Diagram
How to Read the Diagram
A motor diagram is essentially a map of the motor’s components, illustrating how each part is connected and how power flows through the motor. For users who are not familiar with electrical schematics or mechanical diagrams, it can seem overwhelming at first, but understanding the basics can help you diagnose issues and perform repairs more effectively.
Symbols and Labels
Motor diagrams use standardized symbols to represent various components, including the motor, wiring, switches, and other elements. For example, a line representing the wire may be shown with a specific label indicating the wire’s function, such as “ground” or “positive connection.” Understanding these symbols will help you read the diagram accurately. The components in the diagram are also labeled with numbers, so you can easily find parts by their names.
Flow of Power
In the diagram, you’ll typically see the path of electricity as it flows from the power source to the motor and pump. The flow of power is often shown by lines, with arrows indicating the direction of the electrical current. By following the power flow, you can troubleshoot electrical issues by checking for power loss or faulty connections at various points in the system.
Key Elements in the Diagram
The 68180R North Star Sprayer Pump Motor diagram will contain several important sections that help you understand how the motor operates.
Motor Connections
One of the most important parts of the motor diagram is the section showing how the motor is connected to the power source and the pump. This section will show how the motor’s input and output connections work, including any electrical connections and circuit paths. The diagram may also show any safety features such as circuit breakers or overload protection.
Pump Flow and Pressure Pathways
The diagram will also illustrate the flow of fluids through the pump, showing how liquid moves from the reservoir to the nozzle. These pathways are essential for understanding how pressure is built up and distributed to ensure an even spray. Identifying potential blockages or leaks in these pathways can help you diagnose common sprayer issues.
Safety Features
The motor diagram will often include safety components like overload protection, fuses, or automatic shutoff mechanisms. These components are designed to prevent damage to the motor in case of malfunction, such as overheating or excessive pressure buildup. Understanding these safety features and where they are located can help prevent damage and ensure the safe operation of the sprayer.
Common Issues and Troubleshooting
Despite their robust construction, sprayer pump motors like the 68180R can experience several common issues. Familiarity with the motor diagram can make troubleshooting easier and more efficient. Here are a few common issues and how to address them.
Motor and Pump Malfunctions
Motor Overheating
Motor overheating is a common issue, often caused by improper ventilation, excessive load, or faulty electrical connections. If the motor is running too hot, it could indicate that it is drawing more current than normal or not dissipating heat properly. To troubleshoot, check the electrical connections and ensure the motor is not working under excessive load. Refer to the motor diagram to verify that all components are properly connected and functioning.
Electrical Failure
Electrical failure can occur if there is a break in the wiring or a loose connection. This may result in the motor not starting or suddenly stopping during operation. Check the wiring for any visible damage and ensure all connections are tight. The motor diagram will help you locate the source of the electrical failure by following the power flow.
Pump Performance Issues
Low Pressure
If your sprayer is not producing enough pressure, the problem could lie with the pump, the impeller, or the seals. Start by checking the impeller for any debris or damage, as this can significantly reduce pump efficiency. Use the motor diagram to locate any components that could be causing blockages or restrictions in the fluid pathway.
No Spray or Uneven Spray Distribution
An uneven or complete lack of spray can indicate a problem with the motor or pump system. A clogged nozzle, worn-out seals, or a malfunctioning impeller could all cause spray issues. Check the pump and nozzle for blockages and verify that the motor is running at the correct speed and pressure.
Maintenance Tips for the 68180R Sprayer Motor
Regular maintenance is essential to keeping your 68180R North Star Sprayer Pump Motor running smoothly and extending its lifespan. The following maintenance tasks should be performed regularly to ensure optimal performance.
Regular Maintenance Procedures
Cleaning and Lubrication
Dirt, dust, and fluid residues can accumulate over time, affecting the motor and pump performance. Regularly cleaning the motor and pump components will prevent buildup and ensure the system operates efficiently. Additionally, lubricating moving parts, such as the shaft and bearings, will reduce friction and prevent wear and tear.
Inspecting Seals and Gaskets
The seals and gaskets are critical for maintaining the pressure within the pump. Over time, these components can degrade, leading to leaks or reduced performance. Check the seals and gaskets regularly and replace them if they show signs of wear or cracking.
Checking Electrical Connections
Over time, electrical connections can corrode or loosen, which can lead to malfunctioning motors. Inspect the wiring and connectors periodically for damage and ensure all connections are secure. Refer to the motor diagram to check that the wiring follows the correct path and is free of faults.
Conclusion
Understanding the 68180R North Star Sprayer Pump Motor Diagram is essential for anyone operating or maintaining this piece of equipment. The diagram provides a clear overview of the motor’s components, how power flows through the system, and how fluids move through the pump. Familiarity with the diagram makes troubleshooting easier and more efficient, helping to quickly identify issues and perform necessary repairs.
By understanding the motor’s components, regularly performing maintenance, and using the diagram for troubleshooting, you can ensure the longevity and optimal performance of your sprayer pump motor. Regular cleaning, inspection, and timely repairs will keep your equipment running smoothly, allowing you to focus on getting the job done effectively and efficiently.